



Installation - Beams
Faux beam installation
*Required items: Power screw driver, screws, tape measure, electric or hand saw, level, adhesive.
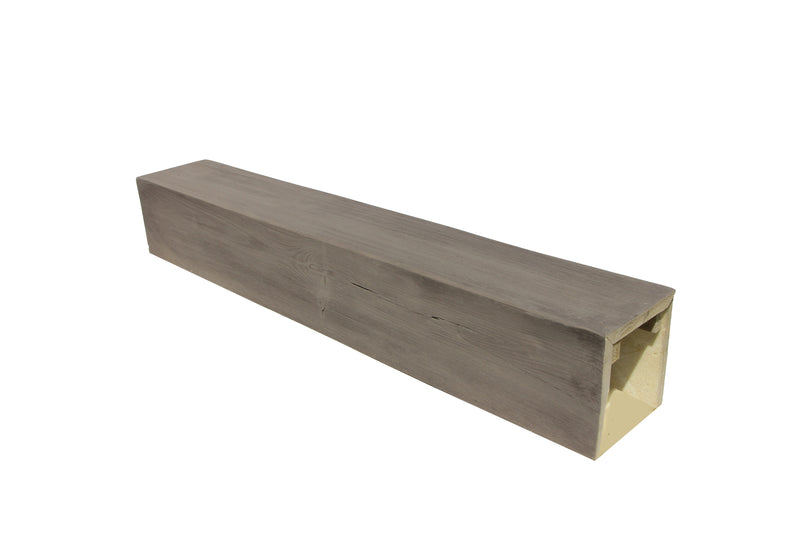
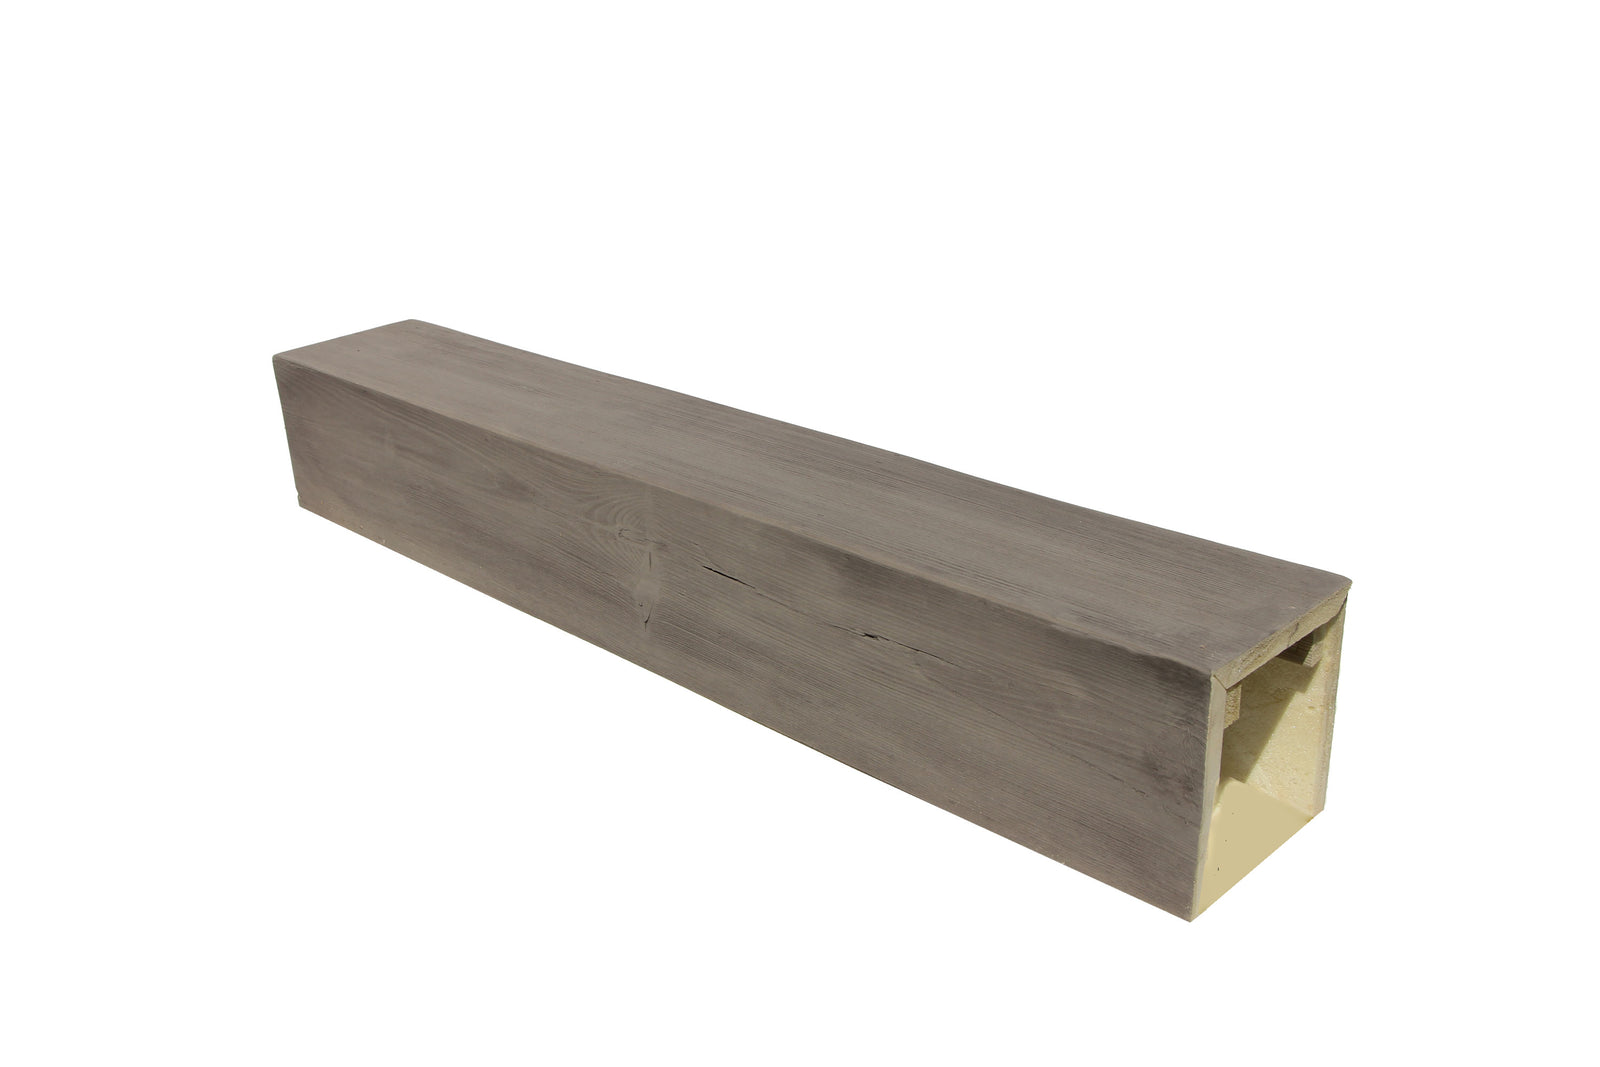
Storage of Beams:
- Tritan BP Beams should be climatized for 24 hours prior to installation. If the beams have been stored in a cool climate or at room temperature, they can be installed immediately.
- Beams should be stored flat to prevent bowing. If in the unlikely event bowing occurs, place the beams flat and they will self-correct.
Installing Faux Beams:
Step 1: Plan Your Layout
Measure and Mark: Use a measuring tape and pencil to mark the desired placement of your beams on the ceiling.
Test Fit: Place the beams in position to confirm their fit and appearance. Make adjustments as necessary
Step 2: Prepare the Beams
Cut to Size: If needed, trim the beams to the desired length using a saw. Ensure cuts are clean and straight.
Drill Pilot Holes: Drill small pilot holes along the top edges of the beam where screws will attach to the ceiling or joists.
Apply Adhesive: Apply a generous bead of construction adhesive along the top edges and ends of the beams for added hold.
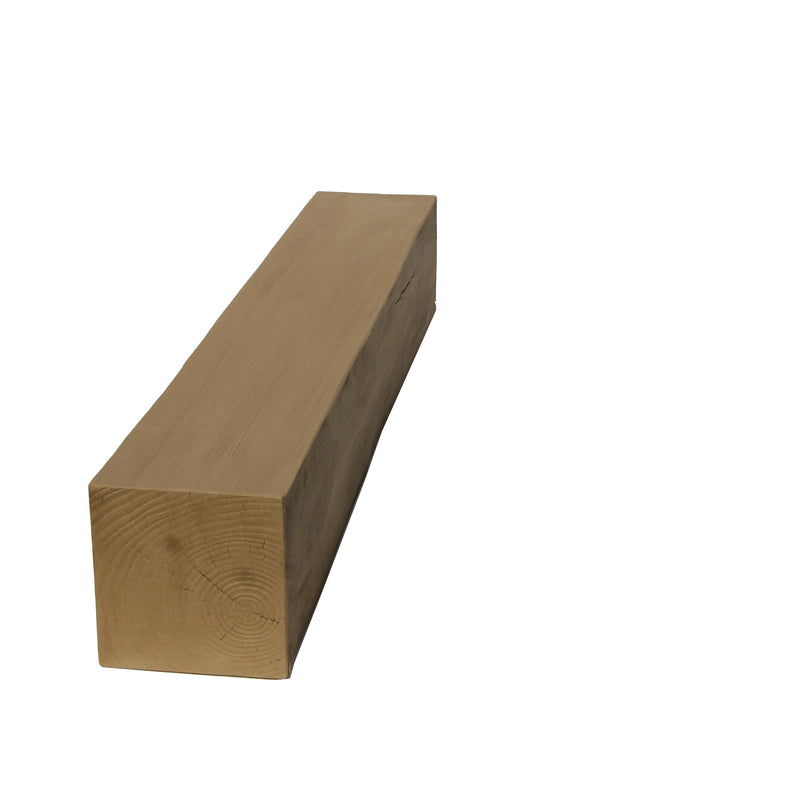
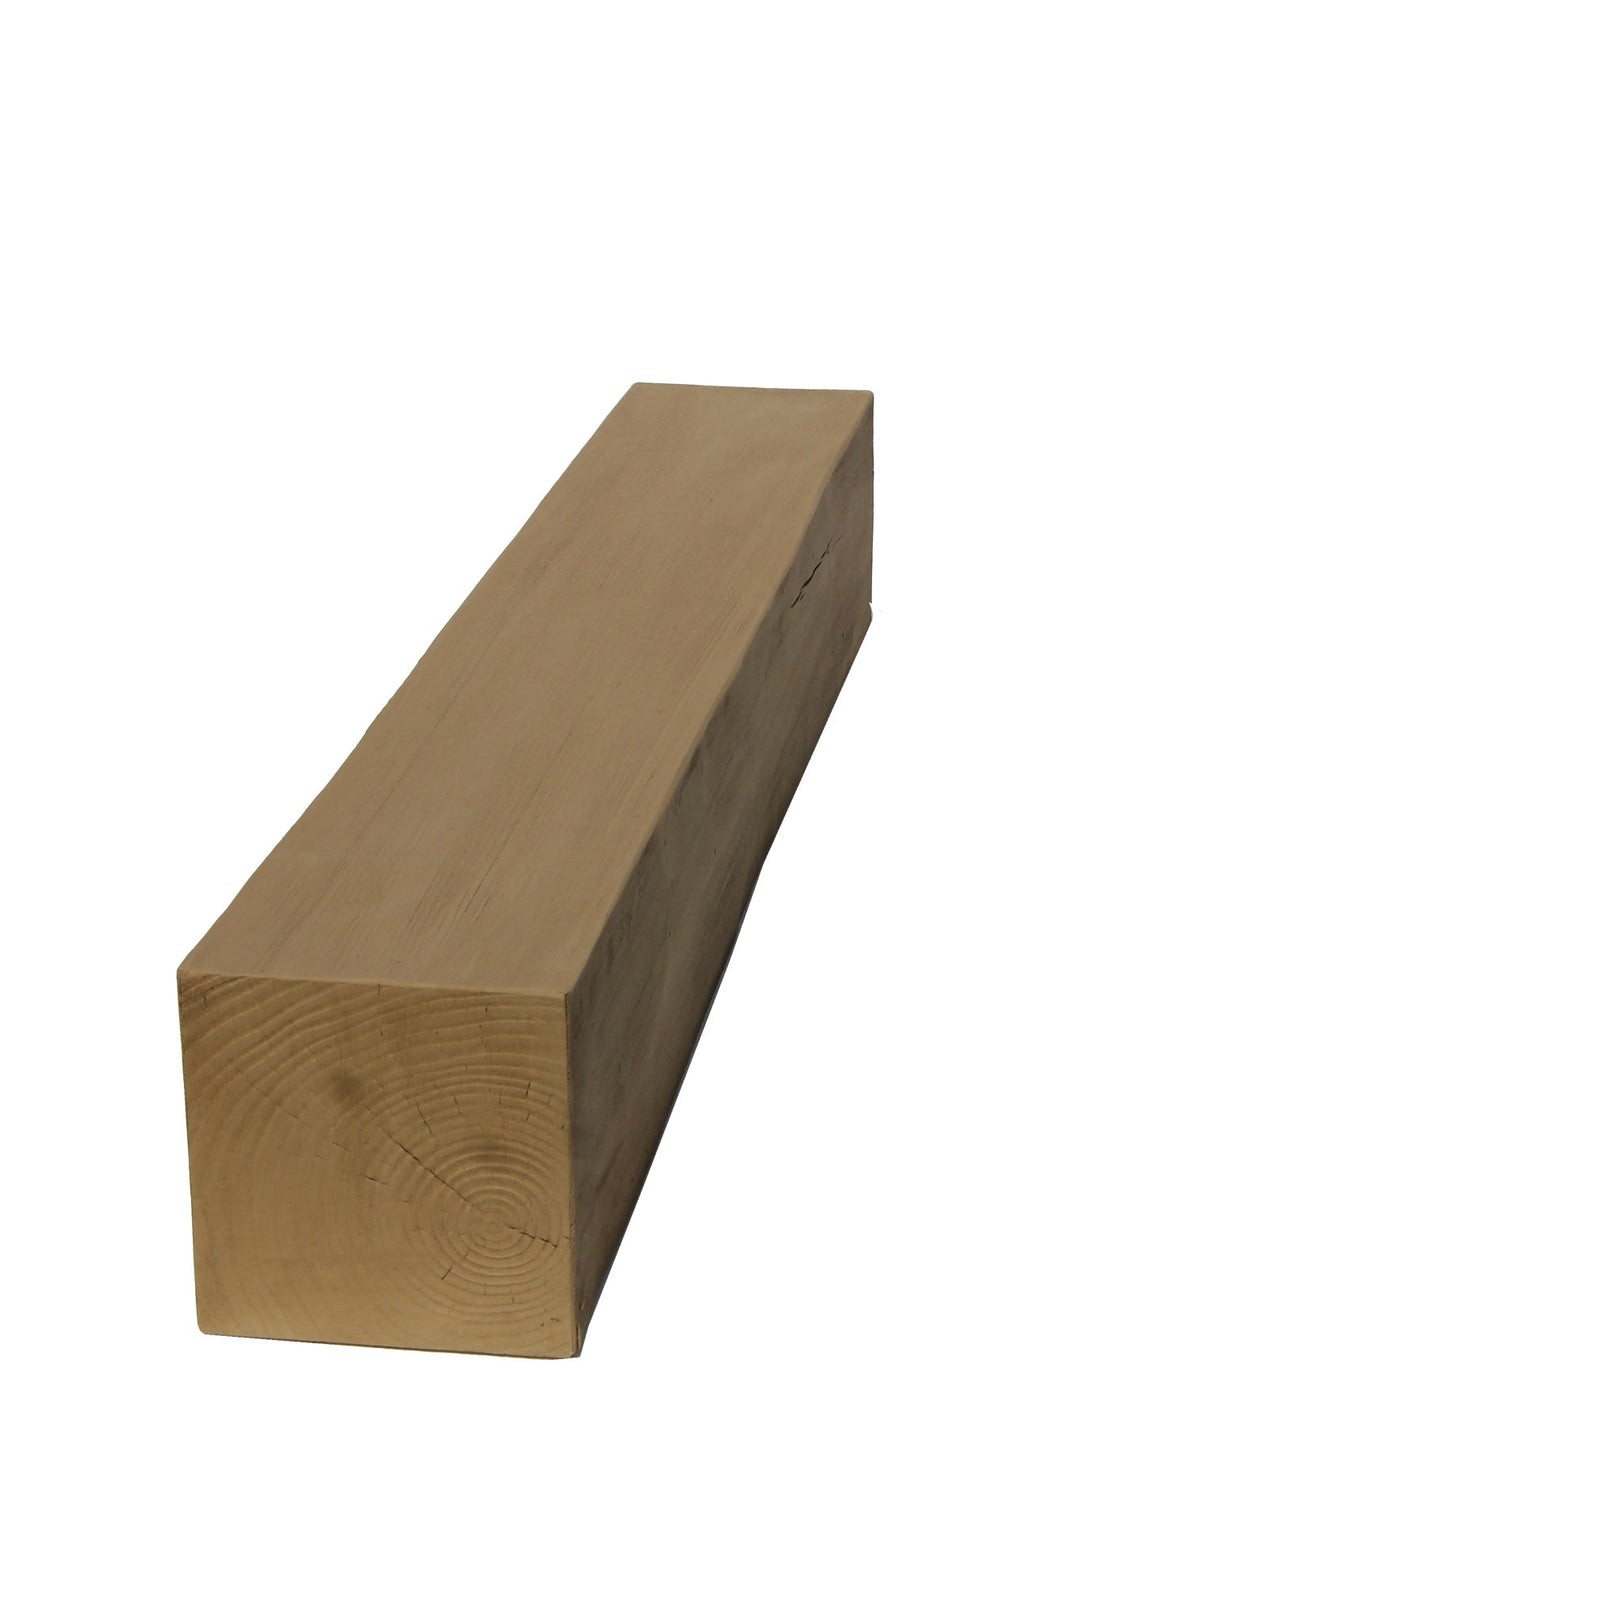
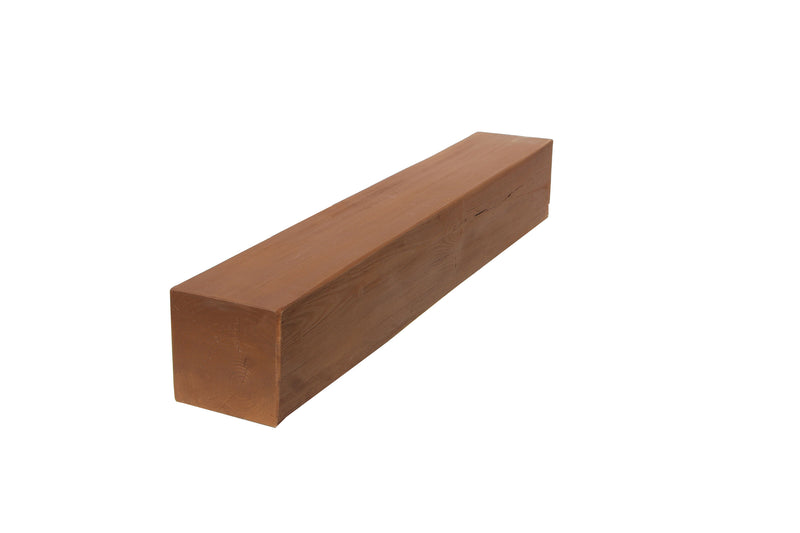
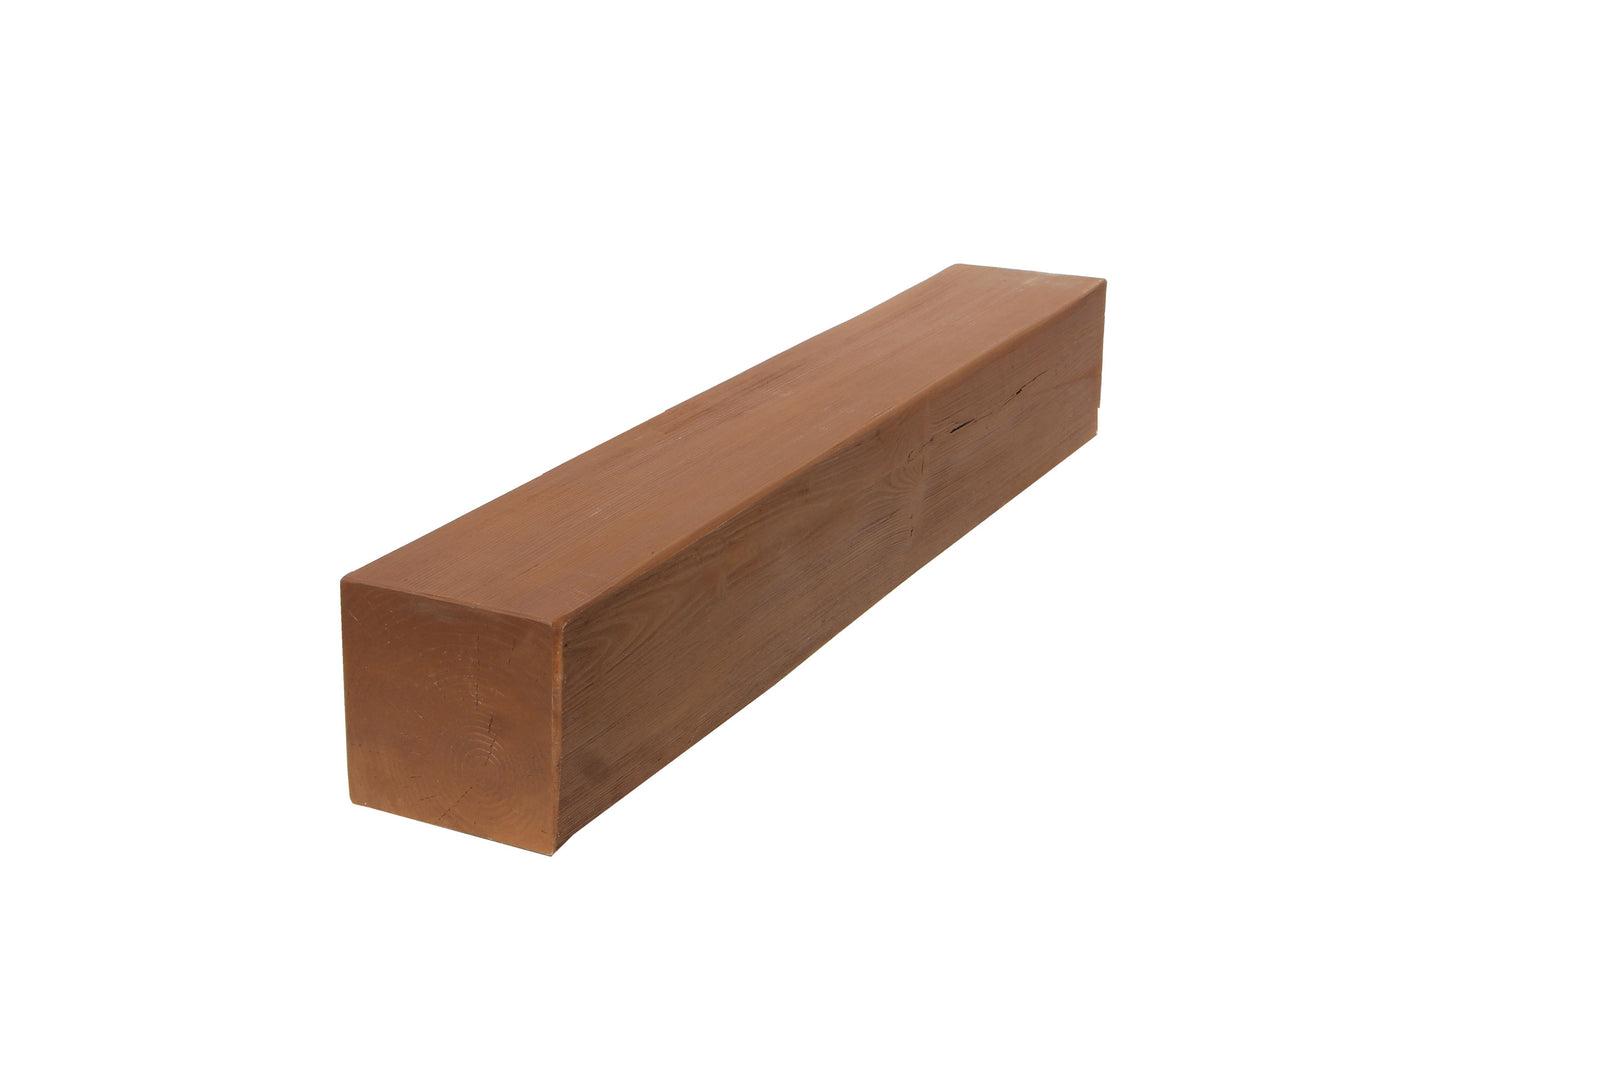
Step 3: Install the Mounting Blocks
Cut Wood Blocks: Cut small wood blocks slightly narrower than the inside width of the beam.
Attach to Ceiling Joists: Secure the blocks to the joists using wood screws, ensuring they are aligned with your beam layout.
Step 4: Secure the Beams
Lift the Beam: With the help of a partner, lift the beam and slide it over the mounting blocks.
Secure with Screws: Drill screws through the top of the beam into the mounting blocks. Ensure the beam is level and snug.
Optional Finishing Touches
Hide Seams: Use wood filler or matching caulk to hide any visible seams or gaps.
Touch Up: Touch up the paint or stain as needed for a polished look.
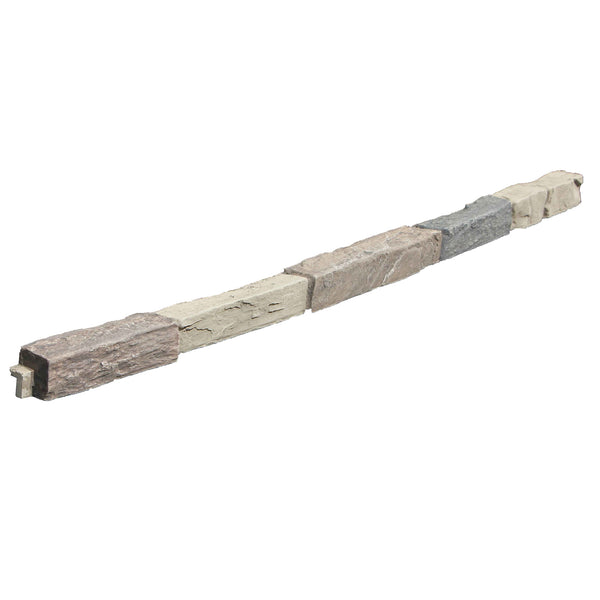
Faux Straps: Faux straps help can help make extending beams very easy.